A cryptographic hash turns any input (a string, a 40 GB database dump) into a fixed-length fingerprint. Change one bit of the input and the fingerprint changes completely. That property makes hashes the standard tool for one question: is this data byte-for-byte identical to the original?
Same hash, same data. Different hash, something changed: in transit, on disk, or by someone's hand. This guide covers generating hashes, choosing the right algorithm (the MD5 vs SHA-256 question has a precise answer), and the verification workflow for file transfers and downloads.
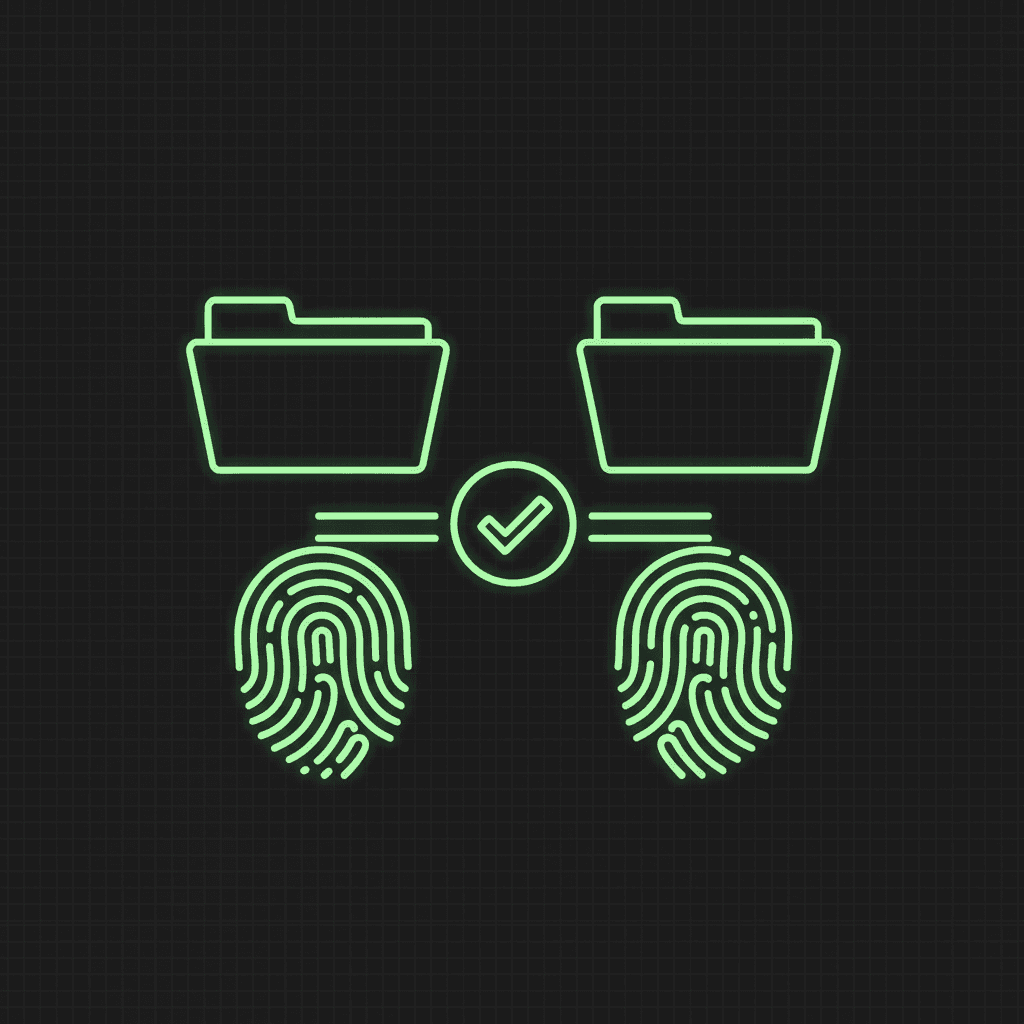
How hash verification works
The workflow is always the same three moves:
- Compute the hash of the original data at the source.
- Move the data: download, upload, copy, restore from backup.
- Compute the hash of the received data and compare to the original.
If the two hex strings match, the data is intact. There's no partial match: a single flipped bit anywhere in the input produces a wildly different hash (the avalanche effect), so even truncation, encoding mangling, or a corrupted block in the middle of a huge file shows up as a complete mismatch.
What hashing does not do: it doesn't tell you where the data changed, it doesn't recover anything, and it doesn't prove who made the file. For authenticity you need signatures (GPG, code signing); a hash only proves sameness against a reference value you trust.
Step 1. Pick the algorithm: MD5 vs SHA-256
This choice depends on one question: are you defending against accidents or against an adversary?
| Algorithm | Output | Collision-resistant? | Use it for |
|---|---|---|---|
| MD5 | 128-bit | No: broken since 2004 | Accident detection only: transfer corruption, dedup, cache keys |
| SHA-1 | 160-bit | No: practical collisions since 2017 | Avoid for anything new |
| SHA-256 | 256-bit | Yes | Anything security-relevant; the sane default |
| SHA-512 | 512-bit | Yes | Same guarantees; sometimes faster on 64-bit CPUs |
The nuance people miss: MD5 being "broken" means an attacker can construct two inputs with the same hash. It does not mean random corruption can slip past it; the odds of a transmission error producing a colliding MD5 are still astronomically small. So:
- Checking your own copy didn't corrupt in transit? MD5 is fine, and it's fast. This is why rsync and lots of storage tooling still use MD5-family checks internally.
- Verifying a file from the internet, a vendor, or anything an attacker could touch? SHA-256. With MD5 (or SHA-1), a malicious party could hand you a tampered file that matches the published hash. With SHA-256, they can't.
If you don't want to carry the distinction around: just use SHA-256 everywhere. The speed difference is irrelevant for almost every real workload.
Step 2. Generate the reference hash
For text snippets, config blobs, and API payloads, paste the content into the Hash Generator and it computes MD5, SHA-1, SHA-256, and SHA-512 simultaneously, useful when you're comparing against a published value and don't know which algorithm was used.
For files, hash at the command line on the source machine:
# macOS
shasum -a 256 backup-2026-06-10.tar.gz

# Linux
sha256sum backup-2026-06-10.tar.gz

# Windows (PowerShell)
Get-FileHash backup-2026-06-10.tar.gz -Algorithm SHA256
Record the output with the filename. For batches, generate a manifest:
sha256sum *.tar.gz > SHA256SUMS
One subtlety with text: the hash covers exact bytes, so hello, hello\n, and hello\r\n are three different hashes. When a "same" string hashes differently on two systems, line endings and trailing whitespace are the cause more often than not. Encoding matters the same way: UTF-8 and UTF-16 representations of identical text hash differently.
Step 3. Transfer, then hash the received copy
Run the same command on the destination machine after the transfer completes. Then compare. Eyeballing two 64-character hex strings is error-prone: humans verify the first and last few characters and gloss the middle, which is exactly where you'd miss a mismatch. Let the machine compare:
# Verify against a manifest (Linux)
sha256sum -c SHA256SUMS

# One-off comparison
[ "$(sha256sum file.tar.gz | cut -d' ' -f1)" = "9f86d08..." ] && echo OK || echo MISMATCH
shasum -a 256 -c SHA256SUMS does the same on macOS. For a quick interactive check, paste both values into a diff or search one for the other; an exact-match search either finds it or it doesn't.
Step 4. Verify downloads against published checksums
Most serious software publishes checksums next to release artifacts: a SHA256SUMS file, hashes on the download page, or per-file .sha256 files. The verification habit:
- Download the artifact and the checksum file.
- Run
sha256sum -cagainst the manifest, or hash the file and compare to the published value. - Check where the published hash lives. A checksum served from the same server as the download only protects against transfer corruption; anyone who can tamper with the file can tamper with the hash beside it. Hashes published over HTTPS on a separate domain, in release announcements, or accompanied by a GPG signature actually defend against tampering.
This is also why hash verification matters for container images and packages: registries and package managers (Docker digests, npm integrity fields, apt's hash chains) do this automatically, and the same logic applies when you move artifacts around manually.
Step 5. Investigate a mismatch
A mismatch means the bytes differ. Work through causes in likelihood order:
- Incomplete transfer. Compare file sizes first; a truncated download is the most common culprit, and the size check takes one second.
- Wrong algorithm or wrong reference. You hashed with SHA-256 but the published value is SHA-512 (length gives it away: 64 hex chars vs 128). Or you grabbed the hash for a different release.
- Text mode mangling. FTP in ASCII mode, git autocrlf, or an editor "helpfully" converting line endings will alter bytes without anyone intending it.
- Actual corruption. Failing disk, bad RAM on either end, flaky network gear. Re-transfer; if the mismatch repeats with different hashes each time, suspect hardware.
- Tampering. If the file came from outside and re-downloading from a known-good source produces a different (correct) hash, treat the first copy as hostile and don't execute it.
Whatever the cause, the rule is the same: a file that fails verification doesn't get used, restored, or deployed until it passes.
Common mistakes
Using a hash where you need a signature. A hash proves the data matches the reference value. If the attacker controls the reference value too, it proves nothing. Authenticity needs a signature.
Hashing before compression and comparing after. data.tar and data.tar.gz are different bytes. Hash and verify the same artifact form on both ends.
Trusting a hash you got over the same channel as the file. Covered above, worth repeating: it's the most common false sense of security in this workflow.
Storing passwords with these algorithms. Fast hashes like MD5 and SHA-256 are deliberately quick, which is exactly wrong for passwords. That job needs bcrypt, scrypt, or Argon2. Integrity hashing and password hashing are different problems.
TL;DR
- SHA-256 by default; MD5 is acceptable only for accident detection on data no adversary touches.
- Hash at the source: Hash Generator for text,
sha256sum/shasum -a 256/Get-FileHashfor files. - Hash again at the destination and compare programmatically (
sha256sum -c), not by eye. - For downloads, prefer hashes published out-of-band from the file itself.
- On mismatch: check size, algorithm, line endings, then re-transfer; repeated random mismatches mean hardware.
Related
- Hash Generator: MD5, SHA-1, SHA-256, SHA-512 in one pass
- How to decode Base64: encoding round-trips, vs hashing's one-way fingerprint
- SSL Certificate Checker: certificate fingerprints are this same idea applied to TLS